

Plugbooks allows you to connect your sales channel with popular bookkeeping software like Xero or QuickBooks to manage your accounting more efficiently. If you skipped the option to connect bookkeeping during registration or when adding a new store, don’t worry—you can easily connect it later by following a few steps.
This guide will walk you through the process of connecting your store with Xero or QuickBooks.
Step 1: Log In to Plugbooks and Select Your Store
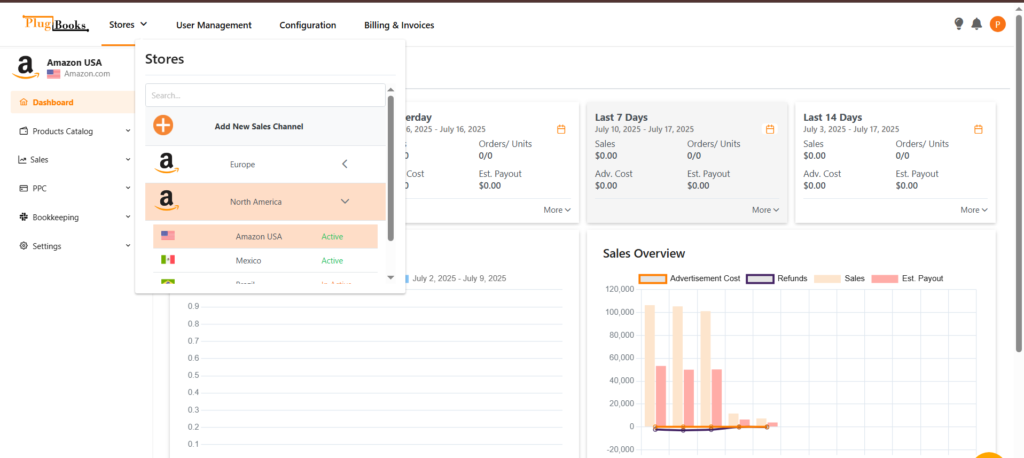
- Start by logging into your Plugbooks account.
- After logging in, select the store you want to connect.
- Choose whether you want to connect this store with Xero or QuickBooks for bookkeeping integration.
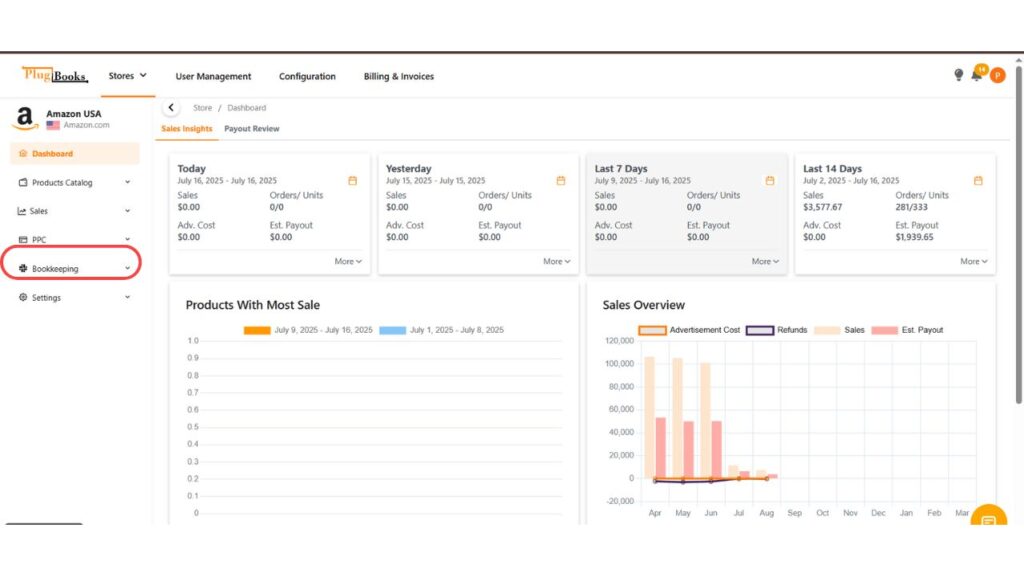
Step 2: Access the Bookkeeping Connection Option
- After selecting the store, go to the menu.
- Look for the option labeled “Bookkeeping”.
- Click on “Bookkeeping” to proceed.
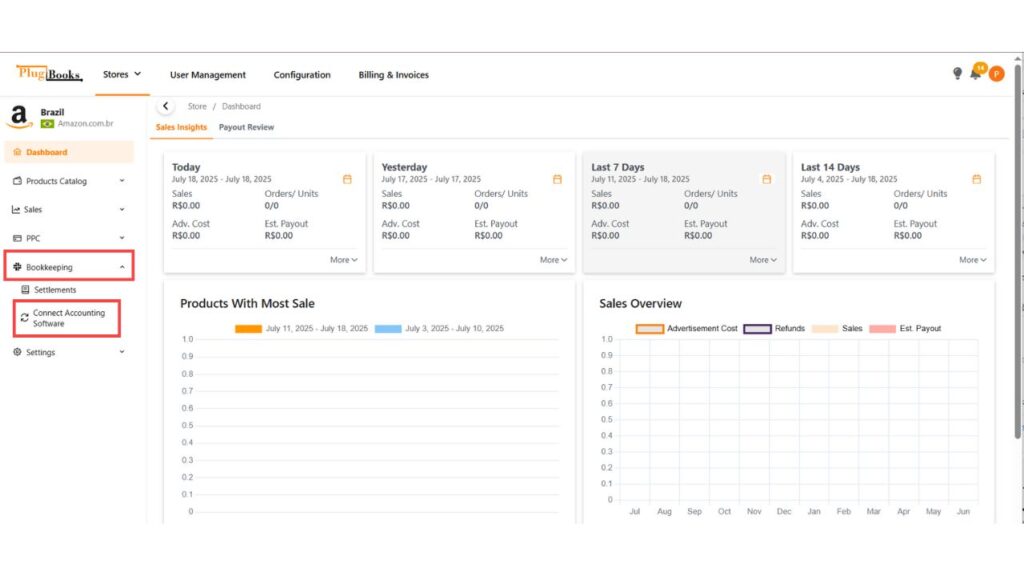
- You will be directed to the bookkeeping selection page.
- From the sub-menu, click on “Connect Accounting Software.
Step 3: Choose Your Accounting Software
Now you can choose between Xero and QuickBooks accounting software.
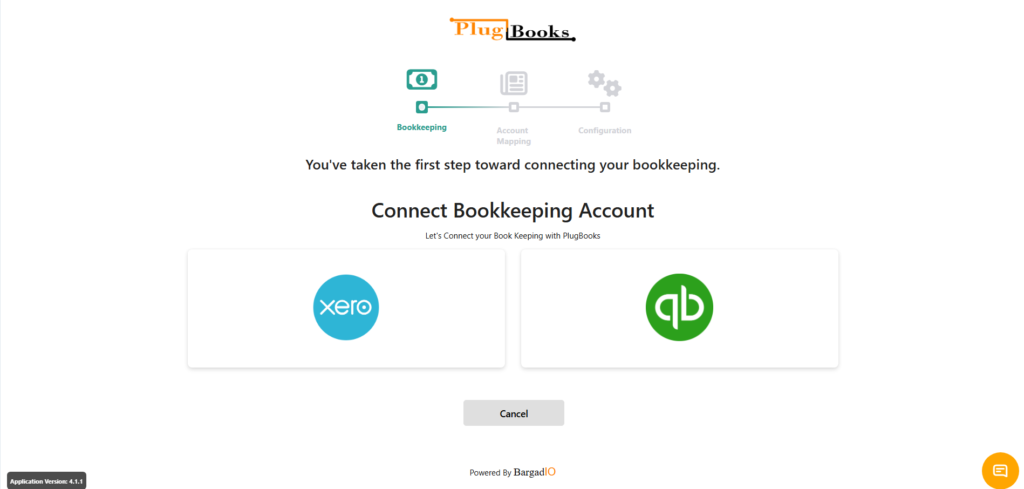
Connecting with Xero
- Select Xero: If you choose Xero, you will need to perform the following configurations:
- Account Mapping: Map your Plugbooks accounts to your Xero accounts to ensure proper categorization of sales, expenses, and payments.
- Invoices Configuration: Set up how you want invoices from your sales channel to be sent and recorded in Xero.
- Once the account mapping and invoices configuration are complete, you’ll be redirected to the dashboard, and your Xero account will be fully connected.
Connecting with QuickBooks
Select QuickBooks:
If you choose QuickBooks, you will need to complete the following three steps:
- Account Mapping
Map your Plugbooks accounts to your QuickBooks accounts, just like you would with Xero. - Invoices Configuration
Set up your invoice preferences to ensure your sales data syncs properly. - Bank Account Mapping
Unlike Xero, QuickBooks requires you to map your bank accounts. This ensures your sales and payment transactions are accurately tracked.
➡️ For detailed guidance, visit: How to Update Bank Account Mapping for QuickBooks
After completing these three steps, you will be redirected to your dashboard, and your QuickBooks account will be successfully connected.
For more detailed steps on how to connect your sales channel or manage your bookkeeping setup, check out our guide on creating an account with Plugbooks.
By following these simple steps, you can seamlessly integrate your sales channel with your preferred bookkeeping software, ensuring all your sales data is synced and ready for accounting purposes.
2 thoughts on “Connect Xero or QuickBooks”