 Feature")

In the world of e-commerce, especially when selling on platforms like Amazon, knowing your profit margins is crucial. While it’s easy to track sales, calculating your actual profit requires considering the costs associated with selling each product.
This is where Plugbooks’ “Cost of Goods Sold (COGS)” feature comes in, designed to give you an accurate understanding of your profits by accounting for the costs you incur.
Purpose of the COGS Feature
When selling a product on Amazon (or any sales channel), you receive payouts from Amazon in the form of settlements. However, to calculate your net profit, you need to subtract the costs associated with each sale. These costs typically include:
- Product cost (what you paid to purchase the item)
- Shipping costs (to get the product to your warehouse)
Plugbooks allows you to input these costs so that they can be automatically deducted from your gross profit, giving you an accurate picture of your net profit. This feature helps you analyze your business performance with a clear understanding of product expenses.
Example of How It Works
Imagine you sold an item on Amazon for $50. To calculate your actual profit, you need to subtract the product cost and the shipping costs. For example:
- Product cost: $30
- Shipping cost: $5
Your gross profit from this sale is $50, but your actual profit after subtracting COGS is:
$50 – ($30 + $5) = $15.
This is why it’s essential to enter the COGS into Plugbooks so you can accurately calculate profits.
How to Use the COGS Feature in Plugbooks
Plugbooks provides multiple ways to input the cost of your products. You can:
- Assign cost manually, item by item
- Create groups of SKUs and assign costs to the group
- Import costs using our bulk import feature (Check out our separate blog for a detailed guide on importing costs).
Let’s walk through how to assign costs manually.
If you don’t have a Plugbooks account yet, click here to create one.
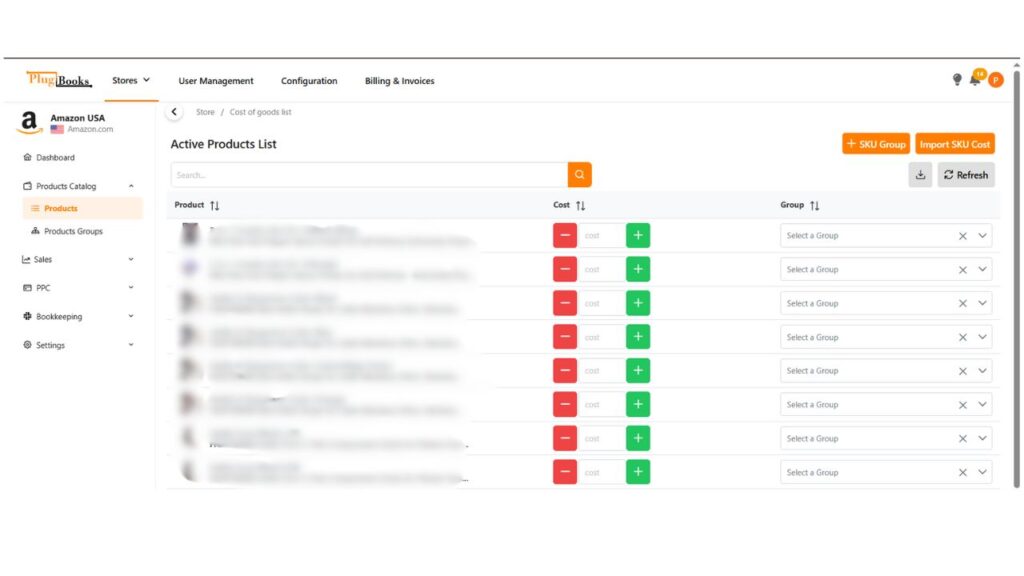
Steps to Assign COGS Manually
- Login to Plugbooks.
- From the Main Menu, select Products Catalog.
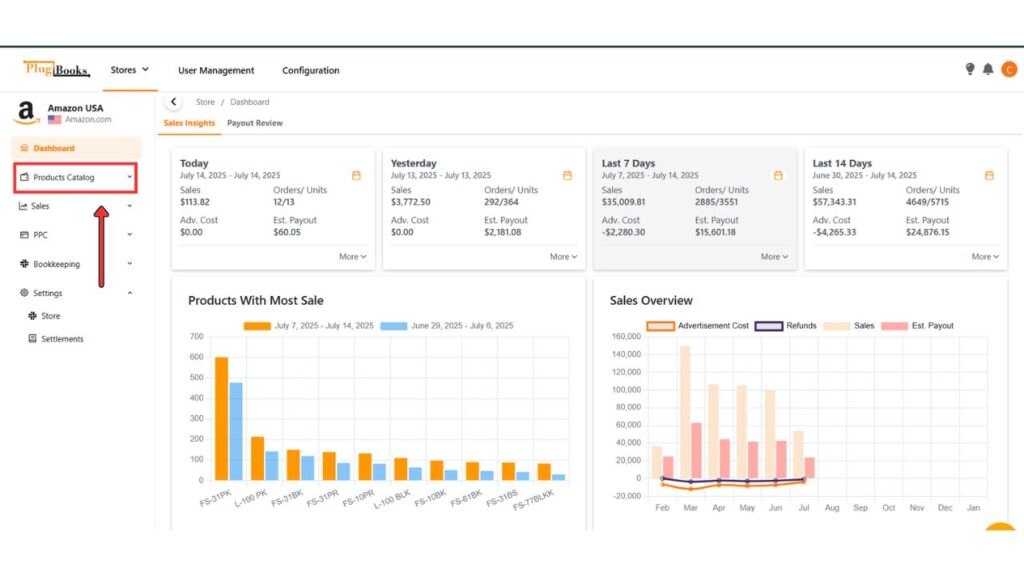
- A submenu will appear. click on Products.
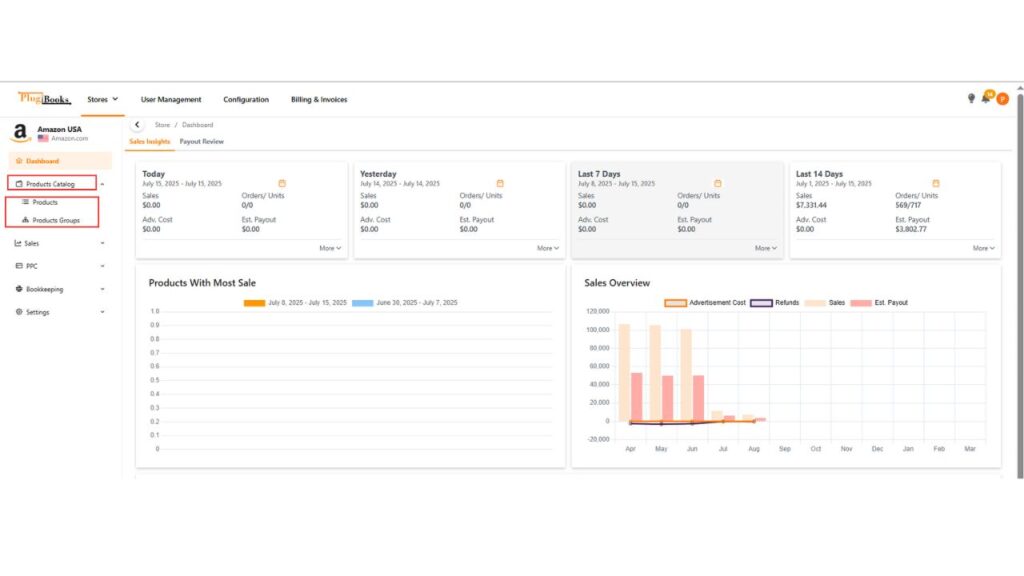
- Click on Products.
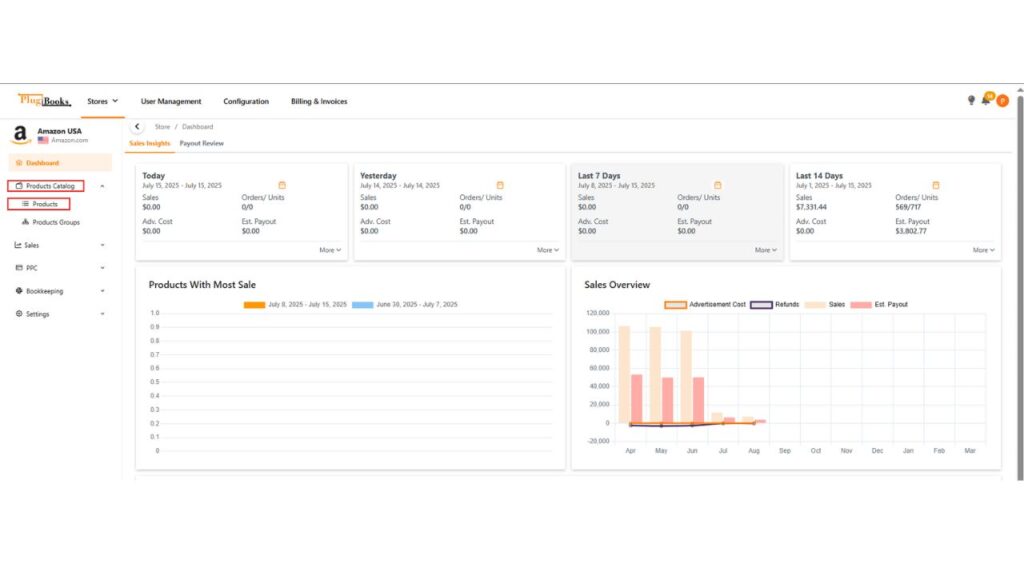
- You will be redirected to a page where COGS (Cost of Goods Sold) can be managed.
- On this page, you have the option to either:
- If assigning individually: Simply enter the cost for each SKU.
- If assigning by group: You’ll need to create a group first.
- Go to the Dashboard and click on Product Groups.
How to Create and Assign SKU Groups
Plugbooks allows you to create SKU groups to simplify cost assignment across multiple products. Here’s how to create and use SKU groups:
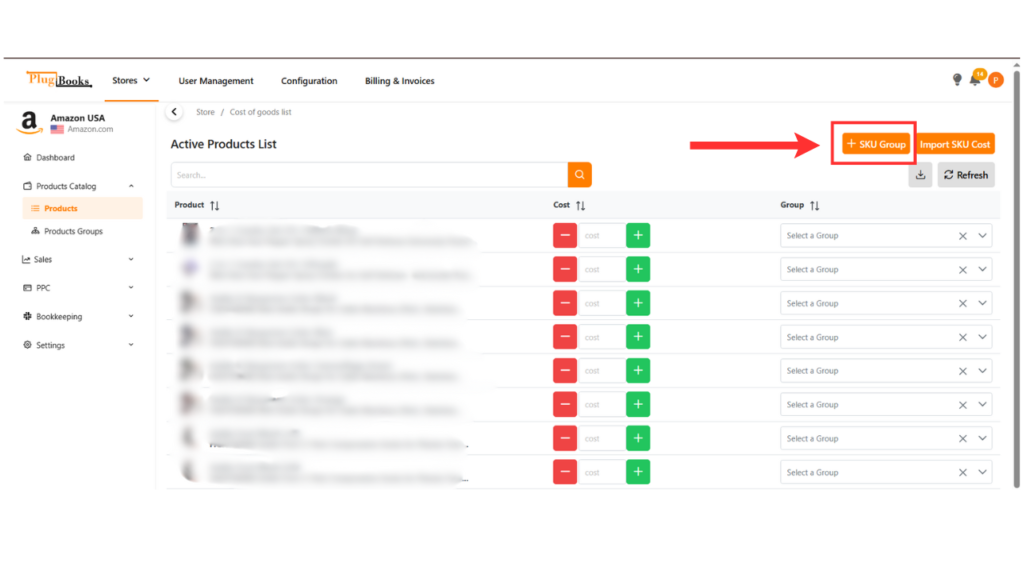
Navigate to SKU Group Menu
Click on “SKU Group” located at the top right corner of the page.
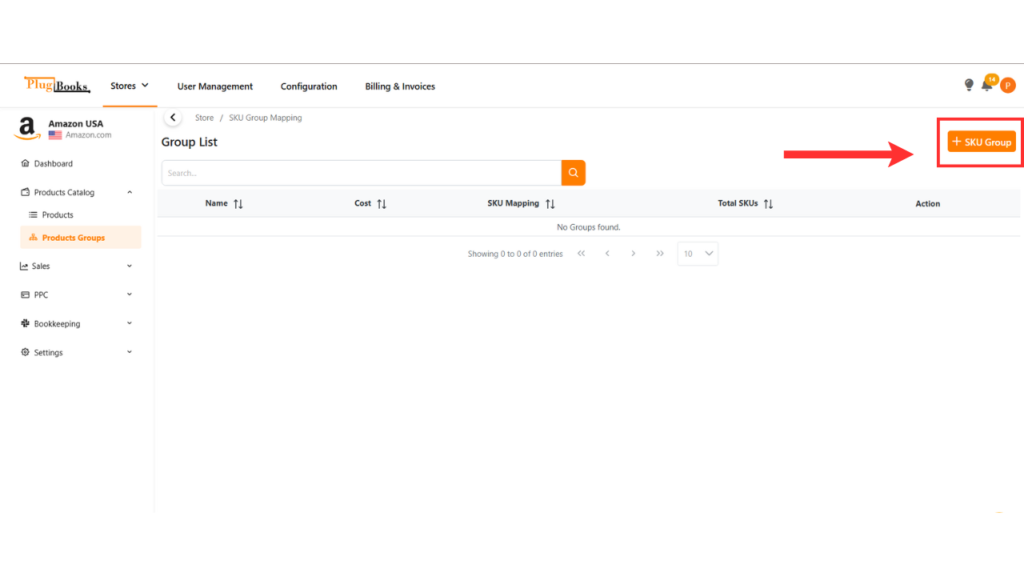
- Create a Group
In the Group List page, you’ll see a button SKU Group. Clicking this will open a popup.
- Enter the Group Name and the cost you want to assign to this group.
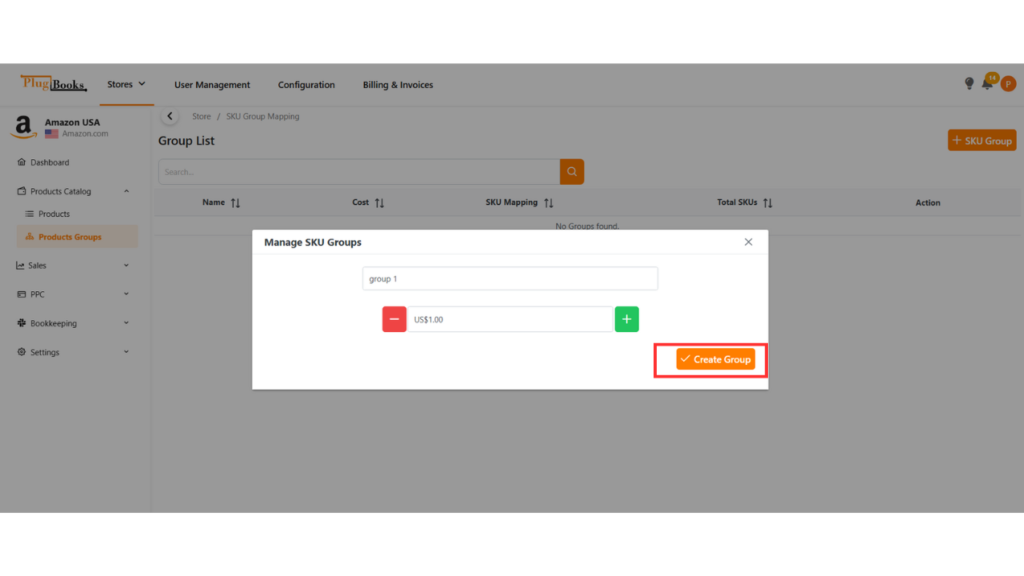
- Click Create. Once created, the group will be added to the list, and you can always update it later if needed.
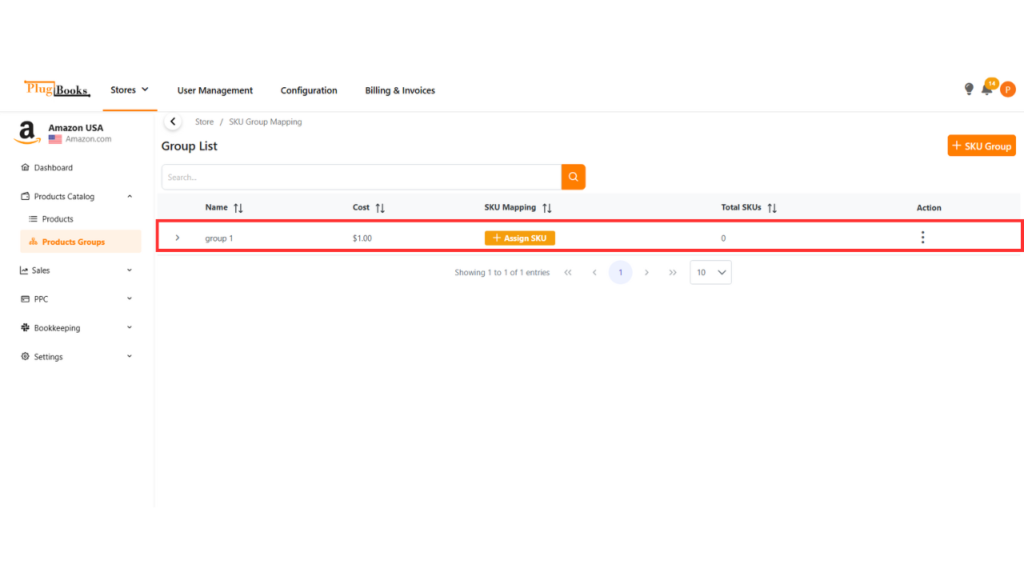
- Assign SKUs to a Group
Once your group is created, you can assign SKUs to that group. Next to the group cost in the list, you’ll see a button labeled Assign SKU.
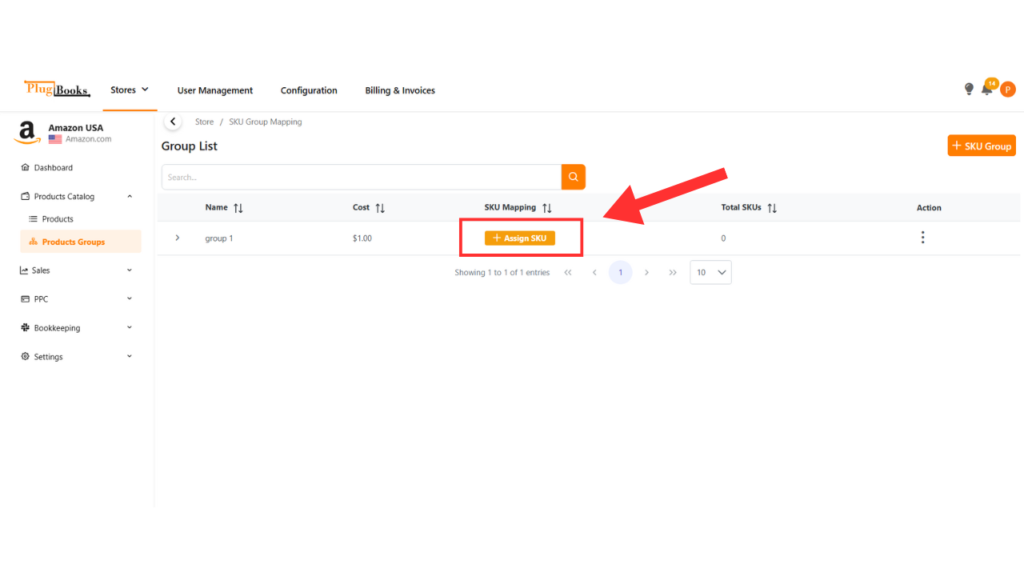
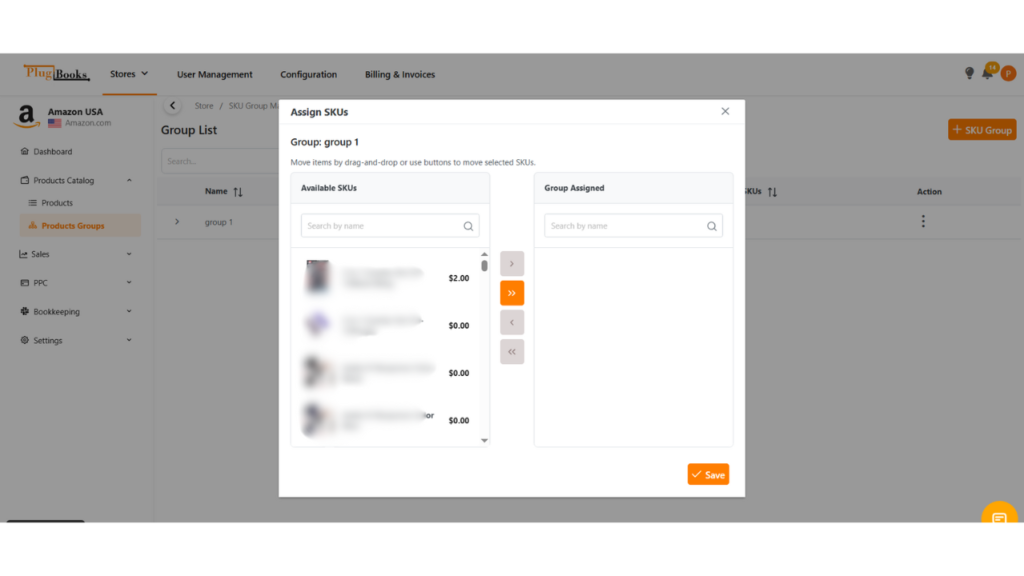
- Click on this button, and a new popup will open where you can assign multiple SKUs to this group.
- Simply drag and drop unassigned SKUs into the assigned cost side.
- Once done, click Assign, and the popup will close. The SKUs will now have the group cost applied automatically.
Manage and Update Your SKU Groups
You can view, manage, and update your SKU groups from the SKU Group List at any time. If you need to change the cost or modify the group, simply click on the group and update the necessary information.
For more detailed guidance on importing costs in bulk for COGS, click here.
One thought on “Understanding the Cost of Goods Sold (COGS) Feature”