

Keeping your accounts properly mapped in Plugbooks is essential for sending journal entries seamlessly to QuickBooks. Plugbooks allows you to update your bank account mappings, ensuring accurate journal entries based on your marketplace transactions. Follow the steps below to easily update your bank account mapping for QuickBooks.
Accessing Plugbooks: A Step-by-Step Login
Logging into Plugbooks is quick and simple, giving you instant access to your financial dashboard and tools. Whether you’re managing e-commerce sales or updating accounting settings, the login process ensures your data remains secure and centralized.
Just sign in using your registered email and password, and you’re ready to begin managing your business workflows efficiently. Below are the step-by-step instructions to help you access your Plugbooks account smoothly.
Step 1: Log in to Plugbooks
First, log in to your Plugbooks account using your credentials. If you don’t have access yet, simply create your PlugBooks account. Once inside, you’ll have full access to your dashboard and settings.
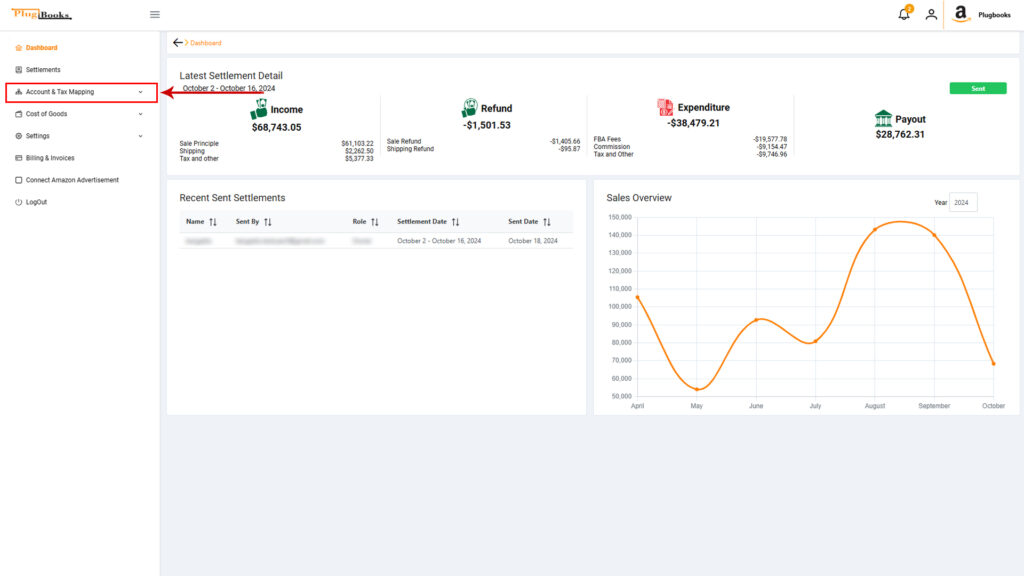
Step 2: Navigate to Account & Tax Mapping
Next, find Account & Tax Mapping in the sidebar menu. Click on it, and the menu will expand to show additional options.
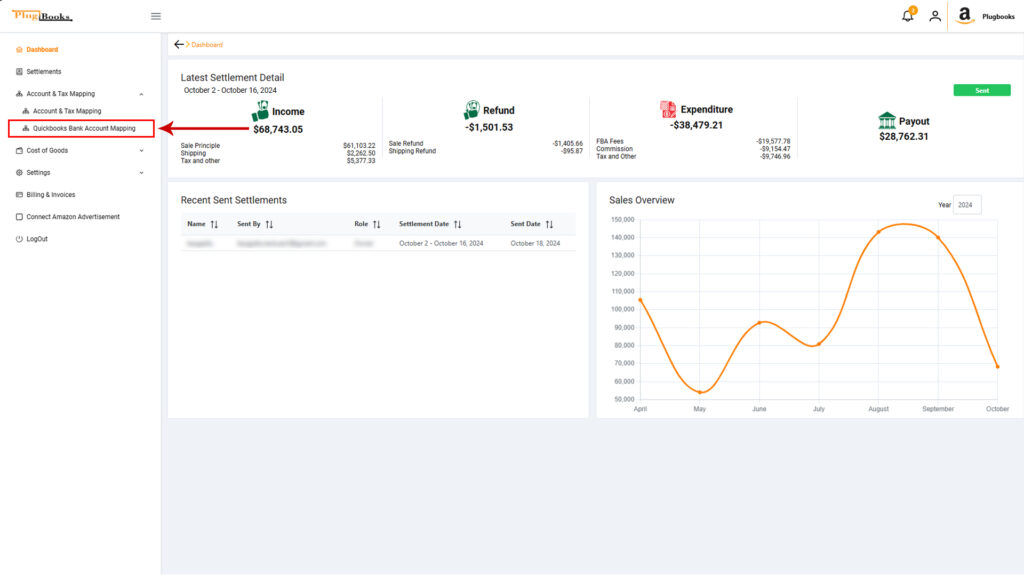
Step 3: Access QuickBooks Bank Account Mapping
From the expanded menu, click on QuickBooks Bank Account Mapping. This action will take you to a new page where you can manage the mapping of your QuickBooks bank accounts.
Step 4: Update Bank Account Mapping for QuickBooks
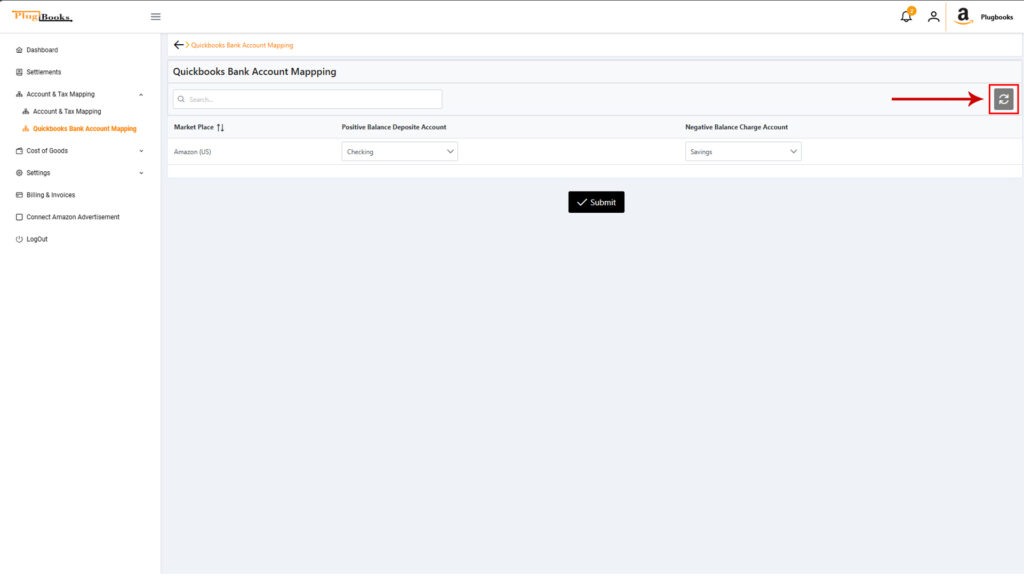
Here, you’ll see two main settings that allow you to map accounts:
- Negative Balance Charge Account: Choose which account will handle negative balances.
- Positive Balance Deposit Account: Select the account for depositing positive balances.
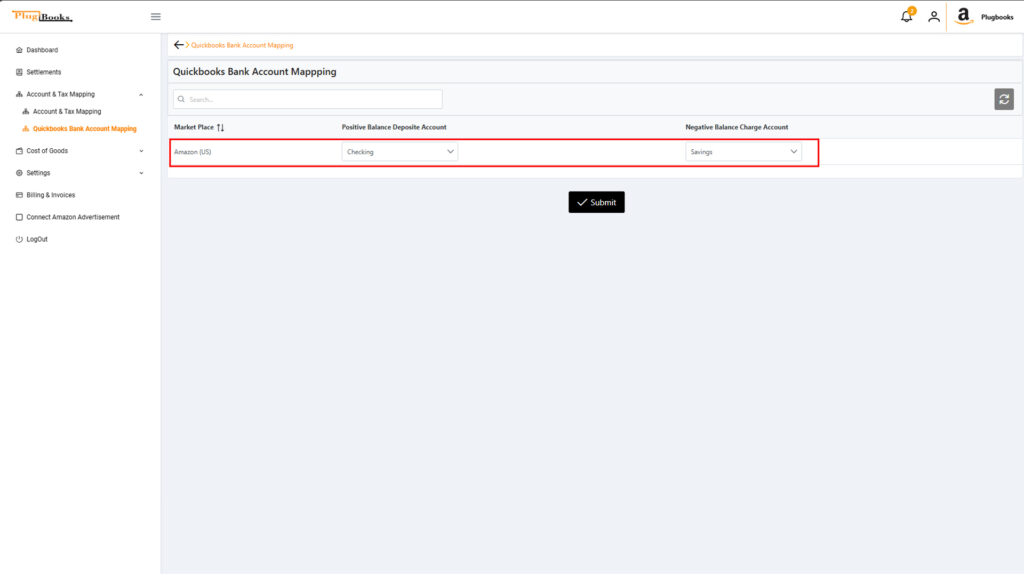
If your preferred accounts are not listed in the dropdown, click the Refresh button. This will automatically retrieve updated bank account details from QuickBooks, making them available for mapping.
Step 5: Save Your Changes
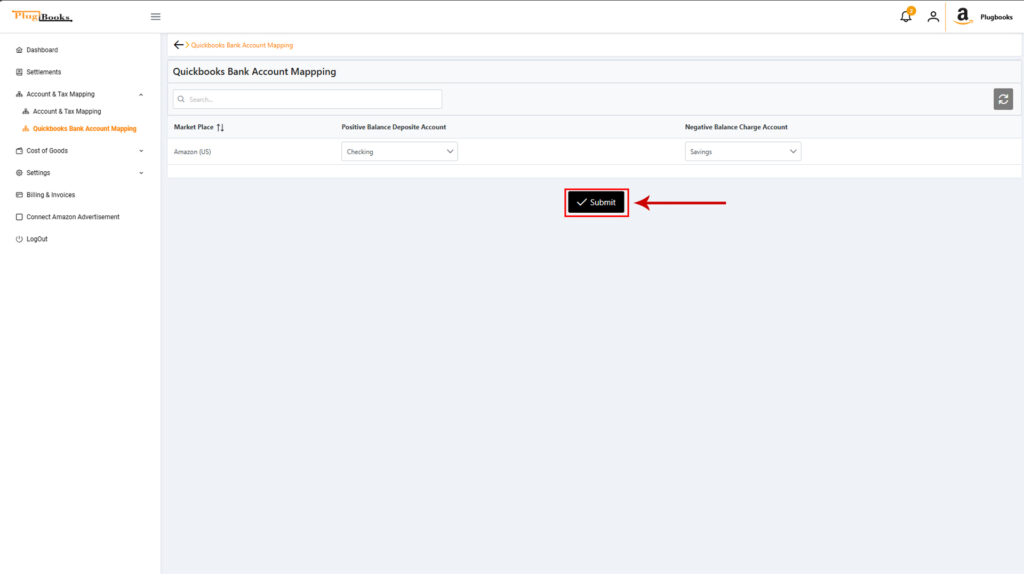
1. Select the correct accounts for negative and positive balances
2. Scroll to the bottom of the page
3. Click the Submit button to save changes
4. Your new settings will now apply automatically3
5. Future journal entries will sync to QuickBooks with accurate bank account mapping
Conclusion:
Updating bank account mappings for QuickBooks in Plugbooks ensures that all journal entries are sent accurately to the correct accounts. By mapping the Negative Balance Charge Account and Positive Balance Deposit Account, you can keep your bookkeeping seamless and accurate. If necessary, use the refresh option to get the most up-to-date accounts from QuickBooks.