

Plugbooks provides seamless integration with Amazon, making it easy to manage your sales data. Depending on whether you’re a new user or already registered, the process varies slightly. Here are the two scenarios:
Scenario 1: Existing Plugbooks Users
If you are already registered on Plugbooks, you can add Amazon as a new sales channel by following a few simple steps. To learn how to add new stores in Plugbooks, refer to this guide.
Scenario 2: New Plugbooks Users
New users need to create an account first before connecting their Amazon store. You can sign up on Plugbooks by following this guide.
Steps 3 to 6: Common for Both Scenarios
Once you’ve selected Amazon as your sales channel in either scenario, follow these steps:
Step 3: Enter Store Details to Connect Amazon
On the setup page, you’ll need to input some details:
- Store Name: Enter the name of your Amazon store.
- Region: Select your preferred region (e.g., North America, Europe) from the dropdown.
- Marketplace: Choose the specific Amazon marketplace (e.g., Amazon.com, Amazon.ca).
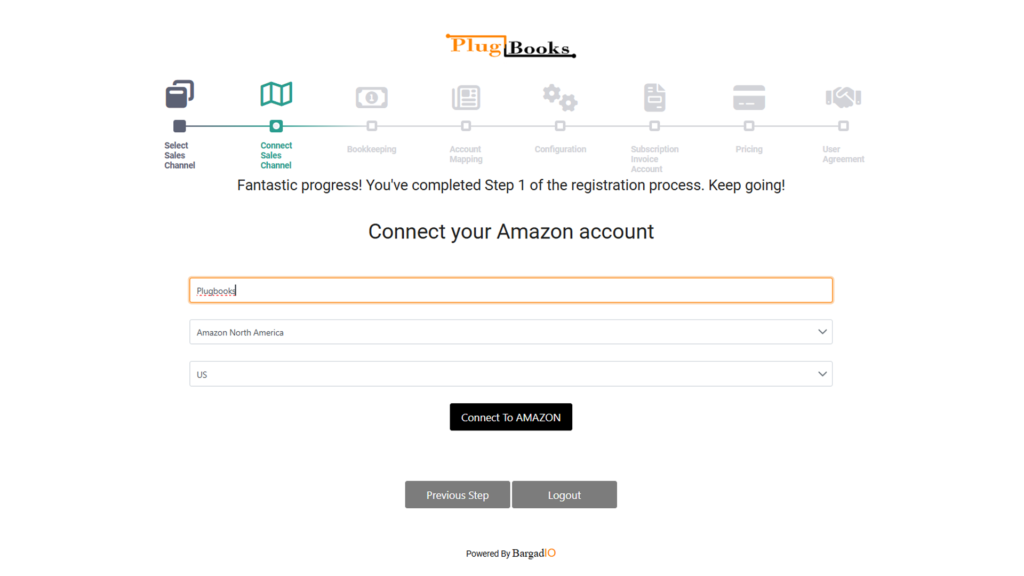
Step 4: Connect Amazon
Click the “Connect to Amazon” button. You’ll be redirected to Amazon’s login page to authorize Plugbooks. After logging in, grant permission for Plugbooks to access your Amazon seller data.

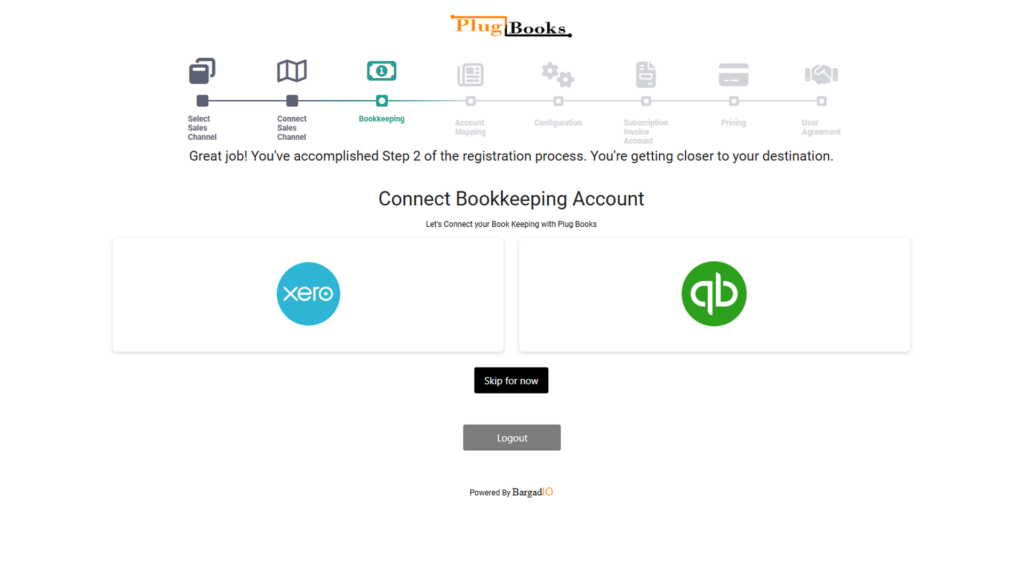
Step 5: Bookkeeping Setup
Once the connection is authorized, you’ll be directed to the bookkeeping setup page. Here, you can choose to connect with bookkeeping software like QuickBooks or Xero. If you don’t use either, simply skip this step.
Step 6: Manage Your Store
After successfully connecting your Amazon store, you’re ready to manage your sales data seamlessly through Plugbooks! Your accounting and store management are now integrated for a more efficient workflow.
One thought on “How to Connect Amazon to Plugbooks”