

Add a new store in PlugBooks: Managing multiple stores or sales channels is a crucial aspect of running an e-commerce business. PlugBooks, with its user-friendly interface, simplifies the process of connecting and managing these channels.
If you’re already registered and looking to add a new store to your PlugBooks account, here’s a simple guide to help you through the process.
Step-by-Step Guide to Adding a New Store in Plugbooks
1. Log into Your Plugbooks Account
- Begin by logging into your existing Plugbooks account.
If you’re new to Plugbooks, create an account here with this quick guide.
- Once logged in, you’ll be on your dashboard where you can manage existing stores and perform other tasks.
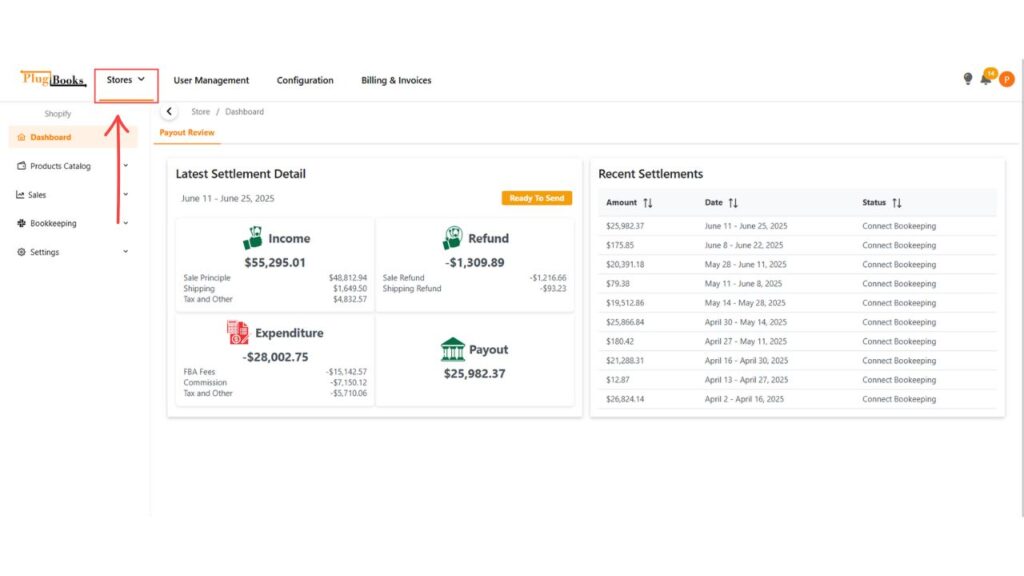
2. Locate the Store Dropdown in the Top Left Corner
- On your dashboard, locate the dropdown menu in the top-left corner of the screen.
- This dropdown shows the name of the store or sales channel you are currently viewing or managing.
3. Click on the Store Name
- Click on the store name in the dropdown menu.
- A menu will expand showing the stores and sales channels you have already connected.
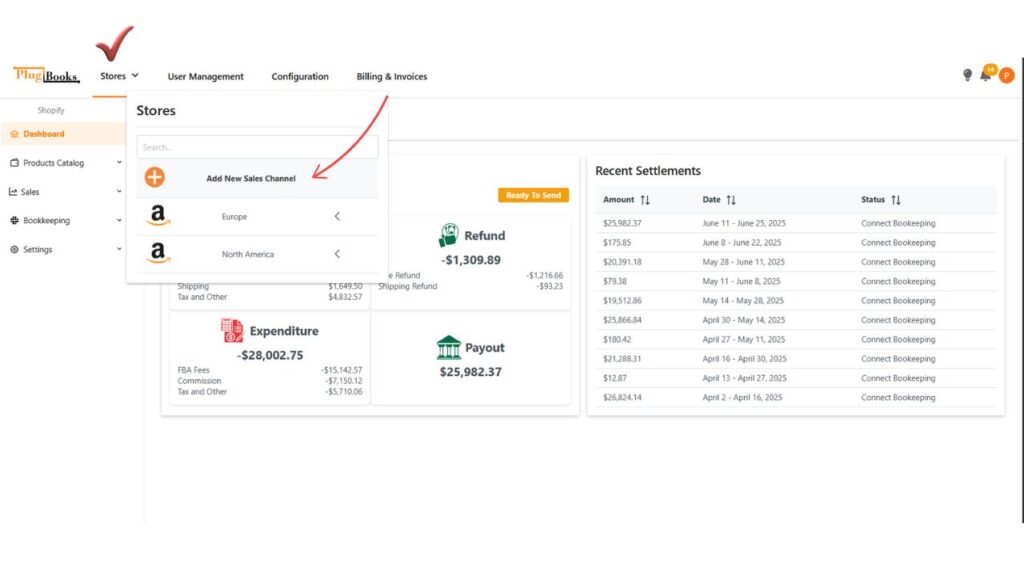
4. Select “Add New Sales Channel”
- In the same dropdown, look for the option labeled “Add New Sales Channel.”
- Click on this button to proceed to the next step.
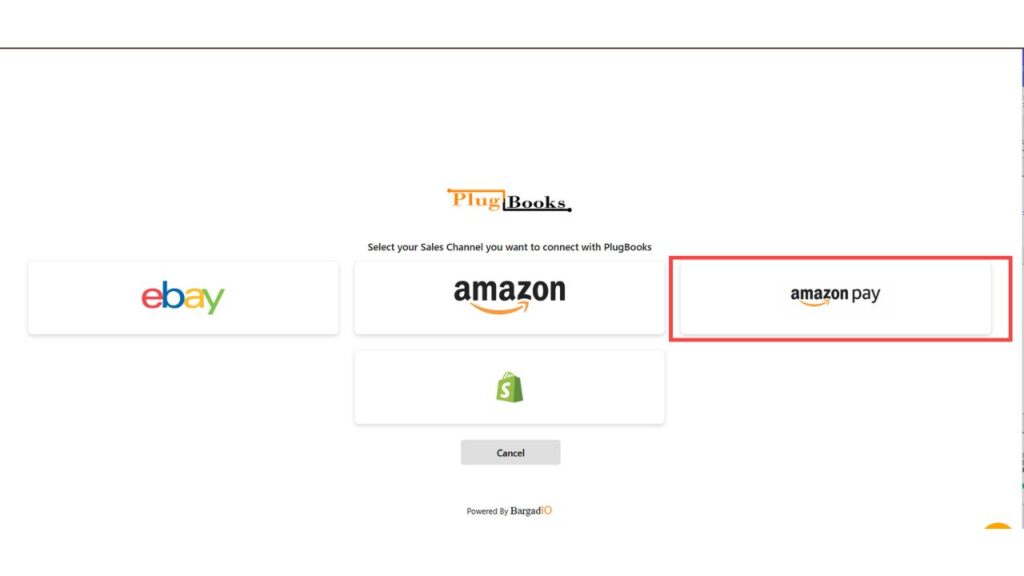
5. Choose the New Sales Channel
- After clicking “Add New Sales Channel,” you’ll be taken to a new page with a list of available sales channels.
- Plugbooks supports popular platforms such as Amazon, eBay, Amazon Pay and Shopify.
- Select the new sales channel you want to connect, for example, Amazon or eBay.
6. Complete the Setup
- Once the new sales channel is connected, you’ll be redirected back to the dashboard.
- Your new store will now be visible in the top-right dropdown along with the other stores you’ve already connected.
If you ever need to reconnect a sales channel, you can follow the steps outlined in our Reconnect Sales Channel Guide.
Benefits of Connecting Multiple Stores with Plugbooks
- Centralized Management: With multiple sales channels connected, Plugbooks lets you manage payouts, settlements, and reports all from a single dashboard. Easily handle your settlements by sending them directly to your bookkeeping software — learn how here — and analyze multi-month settlement reports for deeper insights — read more here..
- Easy Monitoring: You can switch between different stores quickly, without needing to log in separately for each platform.
- Improved Reporting: Plugbooks provides detailed reports for each connected sales channel, allowing you to track performance and financials across different stores in one place.
For a detailed guide on how to analyze your sales channel profits effectively using Plugbooks, check out How to Analyze Sales Channel Profits Using Plugbooks.
Conclusion
Adding a new store to your Plugbooks account is a seamless process that enhances your ability to manage multiple sales channels efficiently. By following the steps above, you can integrate platforms like Amazon, eBay, and Amazon Pay into your existing Plugbooks setup, ensuring a streamlined workflow for your e-commerce operations.
Feel free to explore additional features within Plugbooks to get the most out of your connected stores!