


Update Chart of Account Mapping in PlugBooks to maintain precise and organized financial records across all your sales channels. PlugBooks makes it easy to map your transaction types to the correct accounts in your bookkeeping software, such as Xero or QuickBooks, ensuring every transaction is accurately categorized.
You can choose to let PlugBooks automatically map your accounts for faster setup, or manually update the chart of account mapping for complete control and customization. This flexibility helps you maintain consistency, reduce accounting errors, and streamline your reconciliation process — keeping your books clean and compliant at all times.
Step 1: Log in to Plugbooks
Log in to your Plugbooks account using your credentials. Once logged in, you’ll have access to the dashboard and other key features.
Step 2: Navigate Account & Tax Mapping with Smart Bookkeeping
- In the sidebar menu click on bookkeeping.
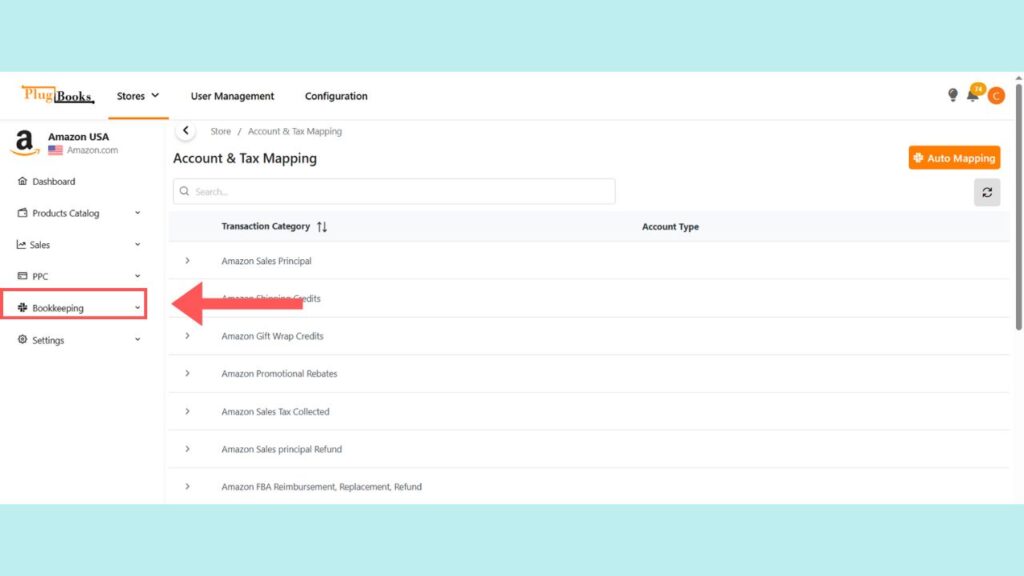
- Here you will find Account & Tax Mapping.
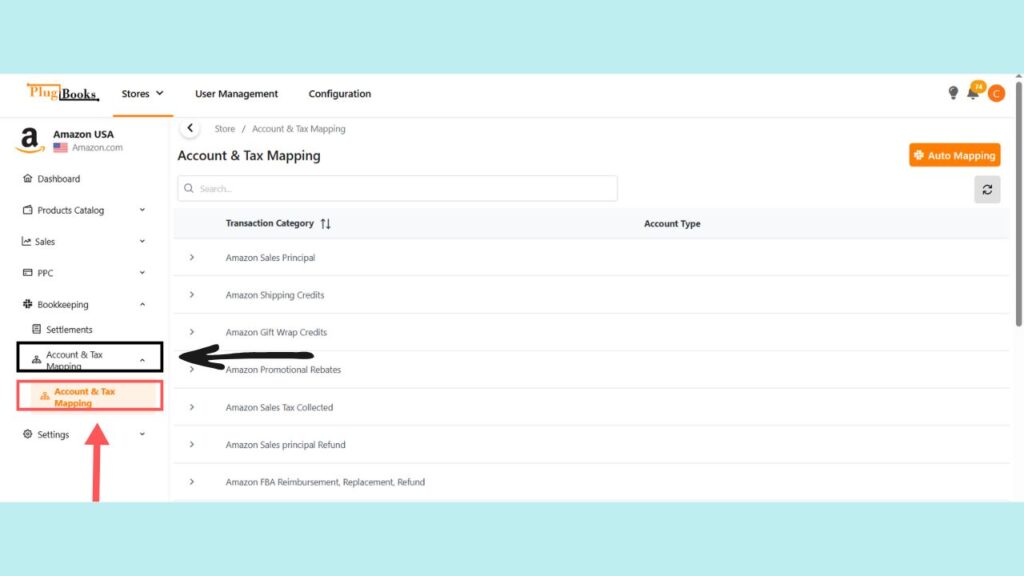
- Click on Account & Tax Mapping once.
- You will see Account & Tax Mapping again — click it.
- This will direct you to the mapping page.
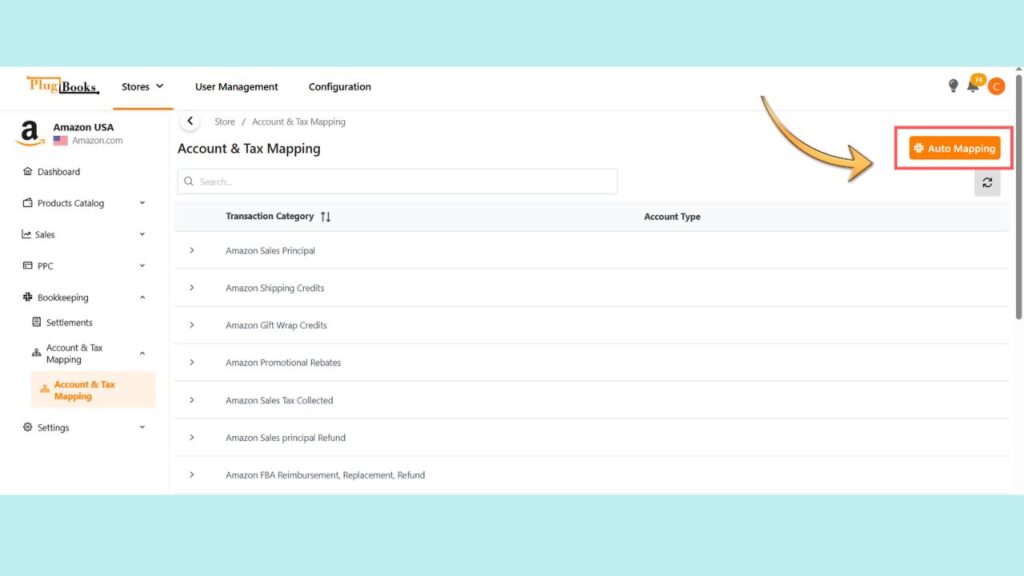
Step 3: Use Auto Mapping (Optional)
If you prefer not to manually map transactions, Plugbooks offers an Auto Mapping option. Click on the Auto Mapping button, and Plugbooks will automatically map transaction types to appropriate accounts in your bookkeeping system. These accounts will be created automatically in Xero or QuickBooks based on default settings.
👉 For a detailed guide, read our blog on Account Mapping
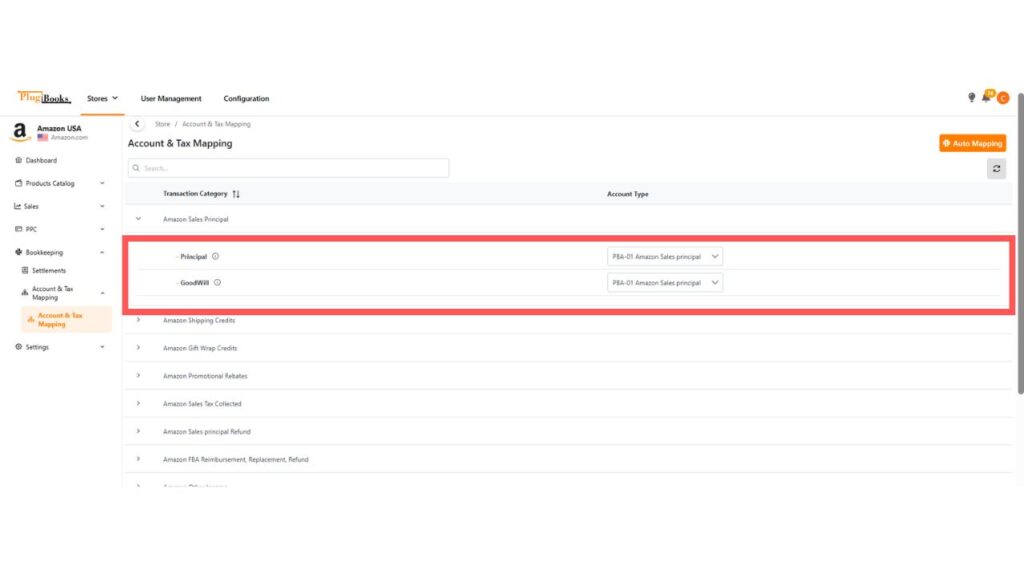
Step 4: Manual Mapping
In the manual mapping section, you’ll see main categories for transaction types. When you expand each category, it will show individual transactions that need to be mapped.
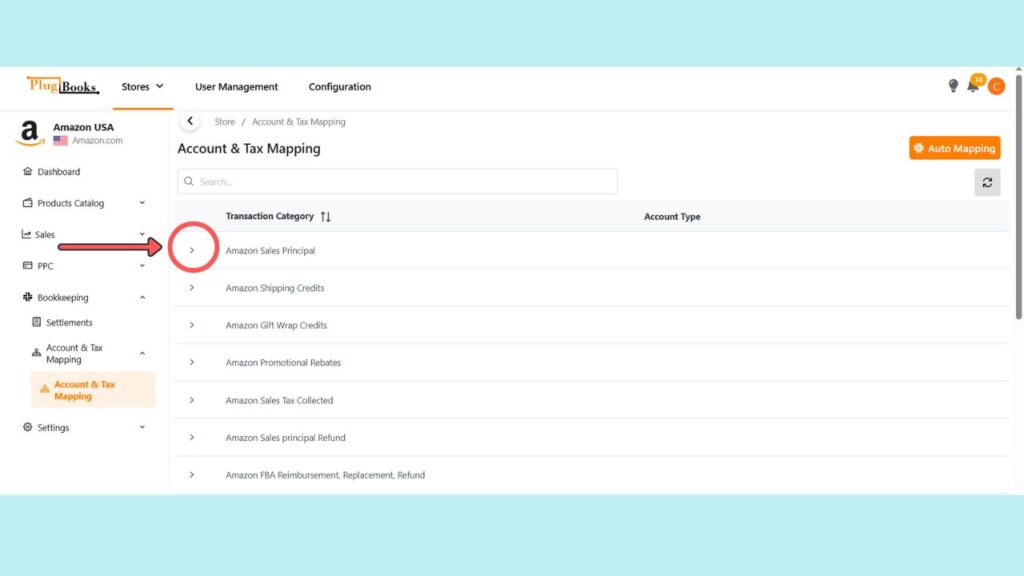
Next to each transaction, there is a dropdown menu where you can select the appropriate chart of accounts from your bookkeeping system. Simply select the correct account for each transaction type from the dropdown.
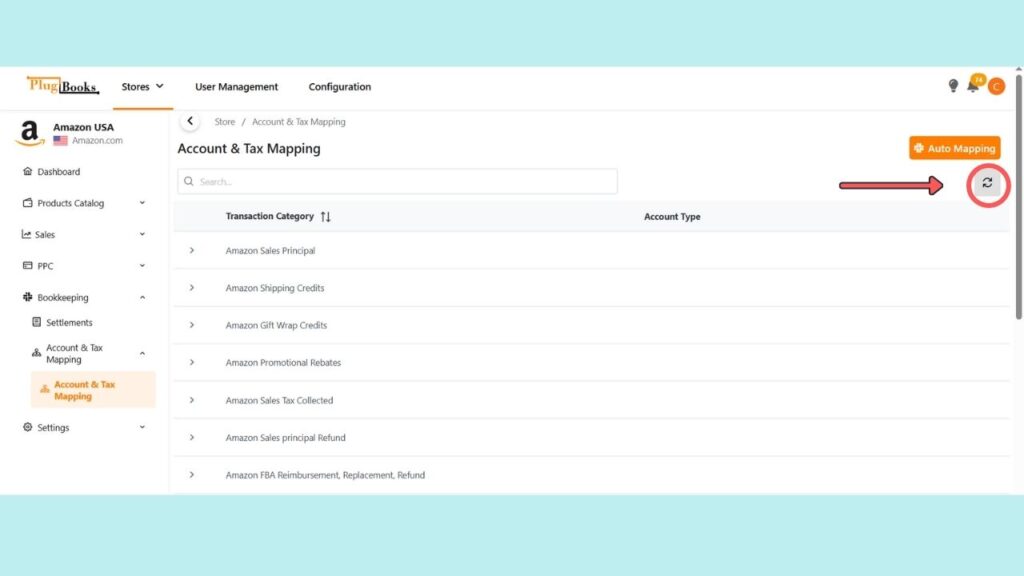
Step 5: Refresh Chart of Accounts (If Needed)
If the desired chart of accounts isn’t showing up in the dropdown, click the Refresh button. This will retrieve the latest chart of accounts from your bookkeeping software.
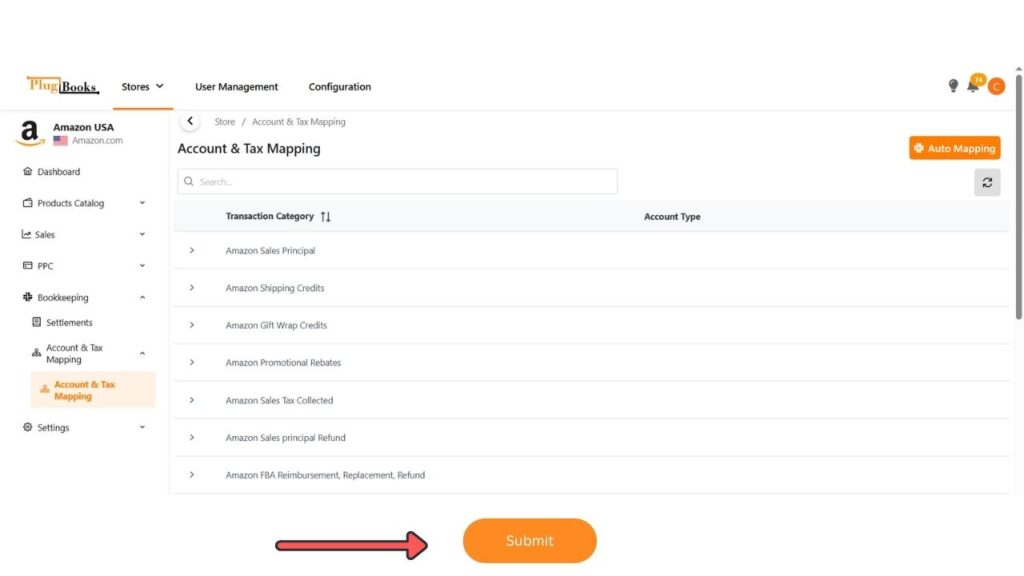
Step 6: Save Your Mapping
Once you’ve finished updating the chart of accounts, click the Submit button at the bottom of the table to save your changes. This will ensure that future transactions are properly categorized when you Update Chart of Account Mapping in Plugbooks for your bookkeeping system.
Helpful Resources:
By following these steps, you can ensure your account mapping stays up to date and your transactions are accurately reflected in Xero or QuickBooks. Plugbooks gives you the flexibility to map accounts manually or rely on auto-mapping, providing the best solution for your bookkeeping needs.