")


Managing your business expenses efficiently is essential for understanding profitability, especially when selling on e-commerce platforms like Amazon. The Cost of Goods Sold (COGS) feature helps you track product and shipping costs, ensuring accurate profit calculation.
Using the bulk import feature, you can easily assign costs to multiple SKUs at once. Here’s a step-by-step guide to using it:
Step 1: Login to Your Account
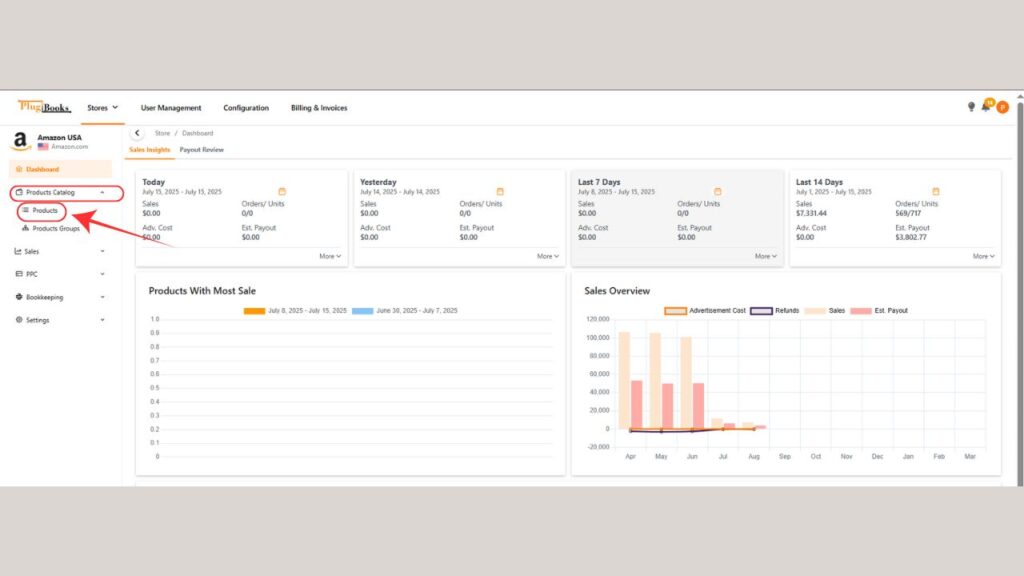
First, log into your Plugbooks account. After logging in, click on the products catalog on the side bar menu.

Step 2: Click On The Products
Navigate to the products catalog menu. It shows the submenu, click on the products to access the page where you can manage your SKU costs.
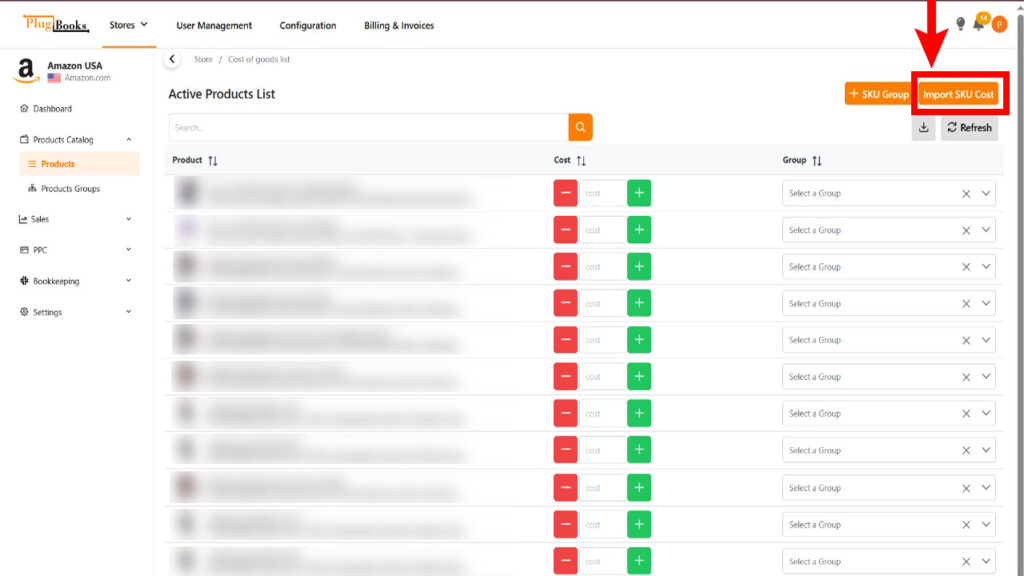
Step 3: Click on the Import SKU Cost Button
On the products page, locate and click on the Import SKU Cost button. This will open a popup where you can start the import process.
Step 4: Download the Template File
In the popup, you’ll see three buttons and instructions.
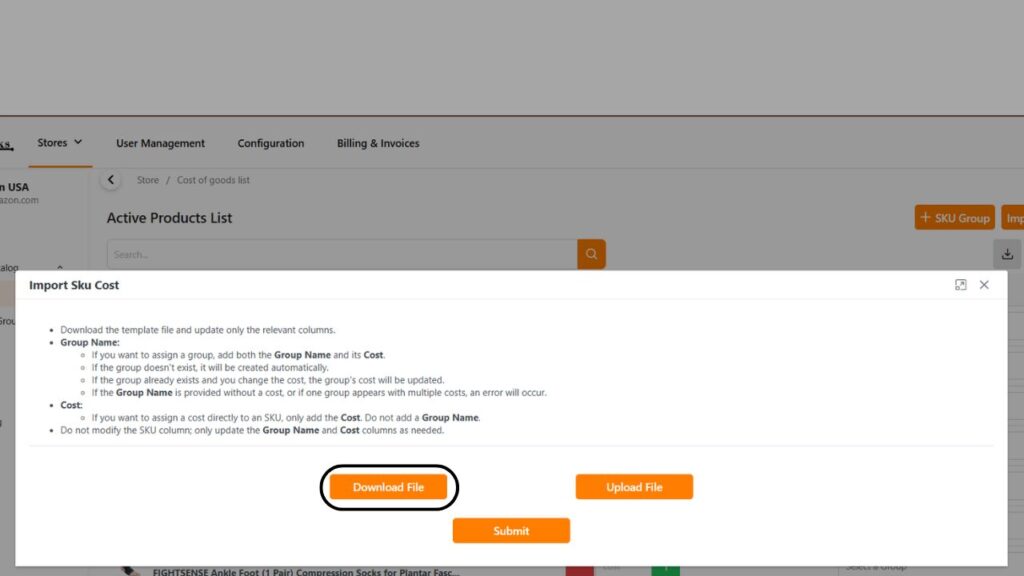
The first button is Download File. Click it to download a template that contains all your SKUs. This file includes four columns:
- Item Name
- SKU
- Group Name
- Cost
You can use this template to assign costs directly to individual SKUs or create groups and assign costs in bulk.
Step 5: Update the Template
Open the template file and update the relevant columns. Here’s how:
- Group Name:
- Add the Group Name and its Cost to assign a group.
- If the group doesn’t exist, it will be created during import.
- If a group already exists and you change its cost, the group’s cost will be updated.
- If a Group Name is provided without a cost, an error will occur.
- Cost:
- To assign a cost directly to an SKU, only add the cost in the Cost column.
- Do not change the SKU column.

Step 6: Upload the Updated File
After updating the template, return to the popup and click the Upload File button. This will allow you to upload your file. If there are any errors, they will be displayed for you to correct.
Step 7: Submit Your Changes
Once all errors are resolved, click the Submit button to finalize the import. The popup will close, and the system will import the costs and groups.
If you face issues during import, please refer to our troubleshooting guide.
Step 8: Review Your Imports
After importing, review the newly created or updated groups in the Groups List page. You can also check the SKU costs in the product page.
By following these steps and using the bulk import feature, you can efficiently manage the costs of your products, saving time and ensuring accurate profit tracking. For more information on creating SKU groups or assigning costs, check out our other detailed blog posts.
For more details on importing COGS in bulk, please refer to this guide.