

Staying updated with your business activities is essential for effective management. Plugbooks offers a customizable email notification system that allows you to choose the types of notifications you want to receive regarding your accounts and marketing updates. Here’s how you can modify your email notification settings in just a few simple steps.
Step 1: Log in to Plugbooks
Begin by logging into your Plugbooks account using your credentials. This is the first step to accessing your settings.
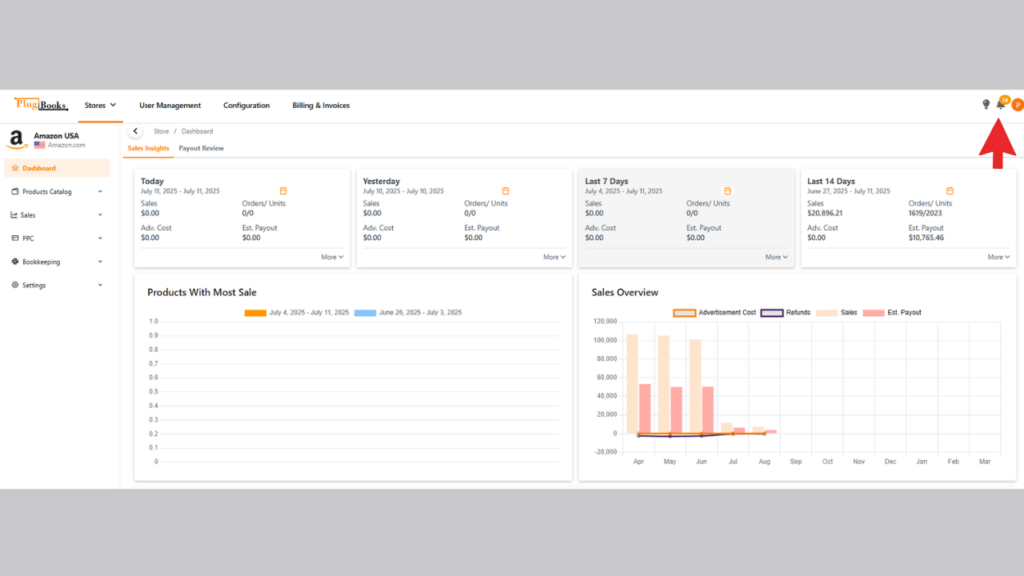
Step 2: Open the Menu from the Bell Icon
After logging in, go to the top-right corner of the page.
- Click on the bell icon to open the menu.
Step 3: Access Email Notification Settings
- From the menu, click on the Settings option.
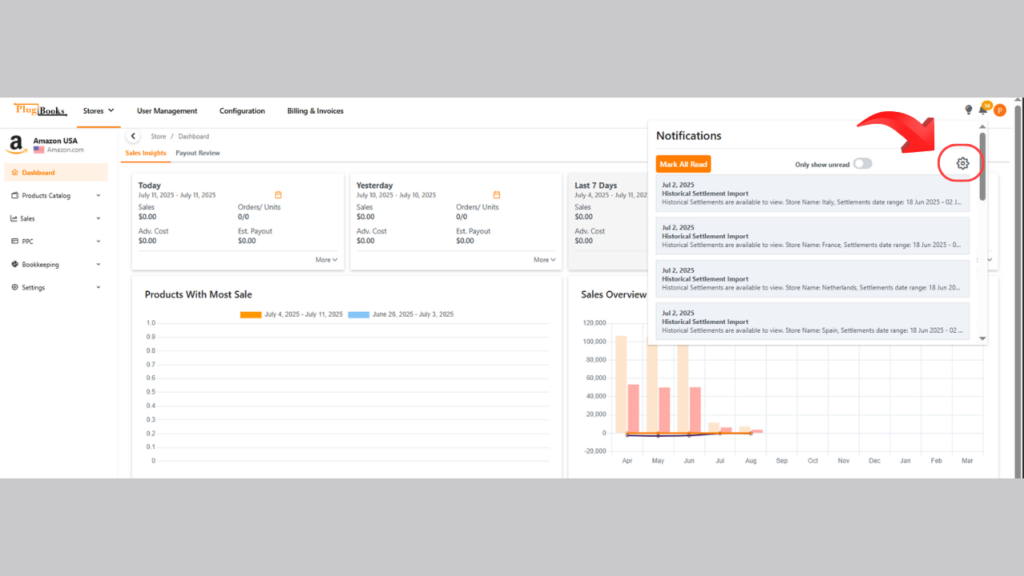
- This will take you to the Email Notification Settings page.
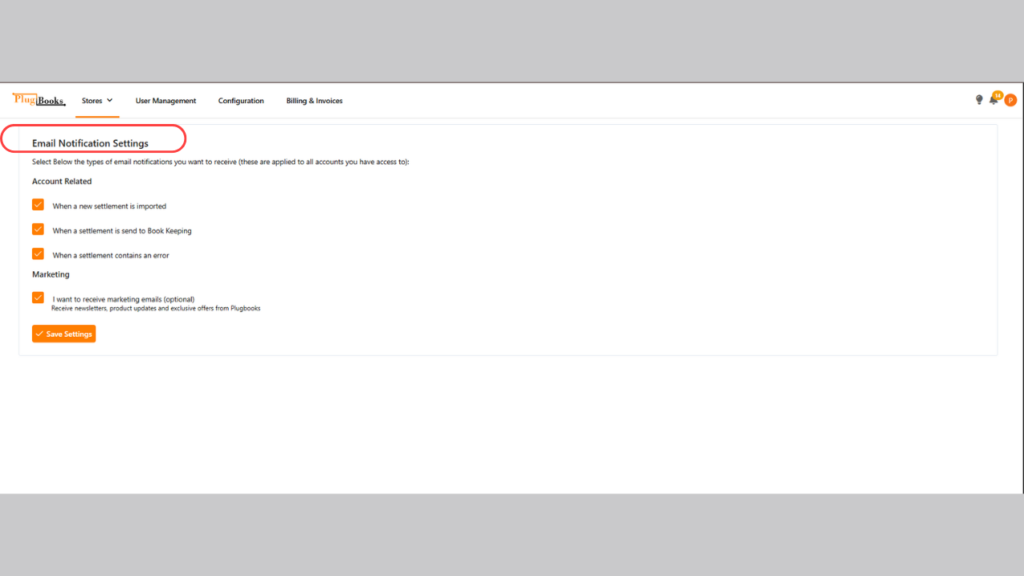
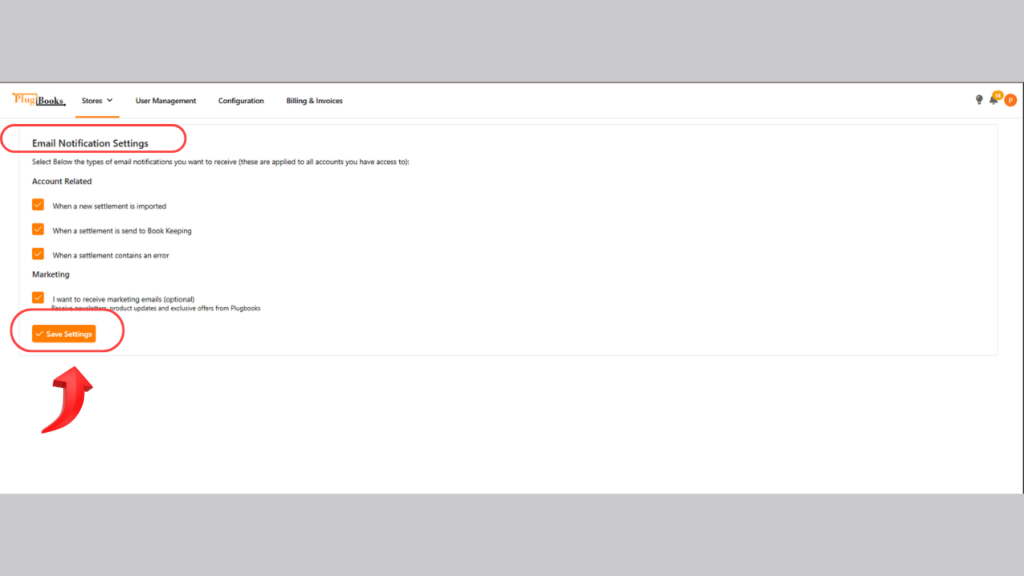
Step 4: Choose Your Notification Preferences
On the Notification page, select the email notifications you want to receive, divided into two sections:
Account Related Notifications:
- Get emails when a new settlement is imported.
- Be notified when settlements are sent to bookkeeping.
- Receive alerts if a settlement has an error.
For detailed instructions on managing your notifications, visit: Manage PlugBooks Notifications
Marketing Notifications:
- Opt-in to receive marketing emails about products and offers (optional).
Step 5: Save Your Settings
After selecting your preferred notification options, be sure to click the Save Settings button at the bottom of the page. This ensures that your preferences are applied to all accounts you have access to.
Need more help? Visit our FAQs or contact our support team for assistance.
Conclusion
Customizing your email notification settings in Plugbooks allows you to stay informed about your account activities and relevant marketing information. By following these simple steps, you can easily manage your notifications to ensure you receive the updates that matter most to you.
Take control of your email notifications today and streamline your Plugbooks experience!